How to Install Phpmyadmin in ubuntu 14.04
Phpmyadmin is a free tool used to administrative MySQL database in a GUI mode (Using web browser). You can perform almost all the major tasks like creating , deleting and modifying databases, tables, rows etc. you can also optimize and repair tables just with a single click .
Note : Before you get started with this, you need to install LAMP or MySql-Server on this server.
Step 1 - Update Ubuntu repositories and install phpmyadmin
root@digidom:~# apt-get update
root@digidom:~# apt-get install phpmyadmin
Step 2 - During installation you will be asked to select a Web server to run the phpmyadmin interface. Hit "SPACE", "TAB", and then "ENTER" to select Apache.
Step 3 - You will be asked to configure a database for phpMyAdmin. Select Yes and press Enter.
Note : If you already configured mysql-server manually, just choose �No� and hit enter to complete the installation.
Step 4 - Provide a password for the Database Administrative user.
Step 5 - Provide a MySQL application password for phpmyadmin.
Success, phpMyAdmin installation has been completed now.
Step 6 - The installation process actually adds the phpMyAdmin Apache configuration file into the "/etc/apache2/conf-enabled/ "Directory, where it is automatically read.
Step 7 - Restart apache service.
root@digidom:~# service apache2 restart
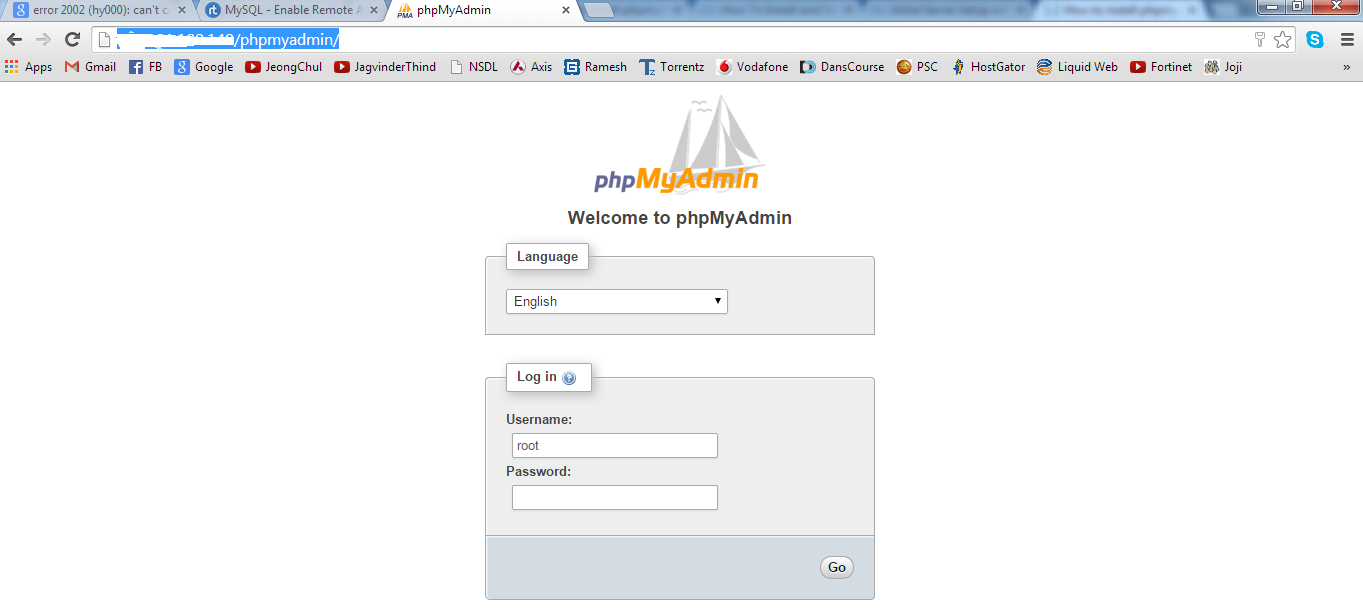
Step 8 - Launch a Web browser and login to phpMyAdmin with the username and password created during installation "http://Your-Server-IP-Address/phpmyadmin/".
You will be redirected to PhpMyAdmin main web interface.
Now, you can manage your MySQL databases from phpMyAdmin web interface.
Additional Note : phpMyAdmin should work well. In case phpMyAdmin is not working "page not found", please do the following steps and add to end of line.
root@digidom:~# vi /etc/apache2/apache2.conf
Include /etc/phpmyadmin/apache.conf
root@digidom:~# service apache2 restart


EmoticonEmoticon